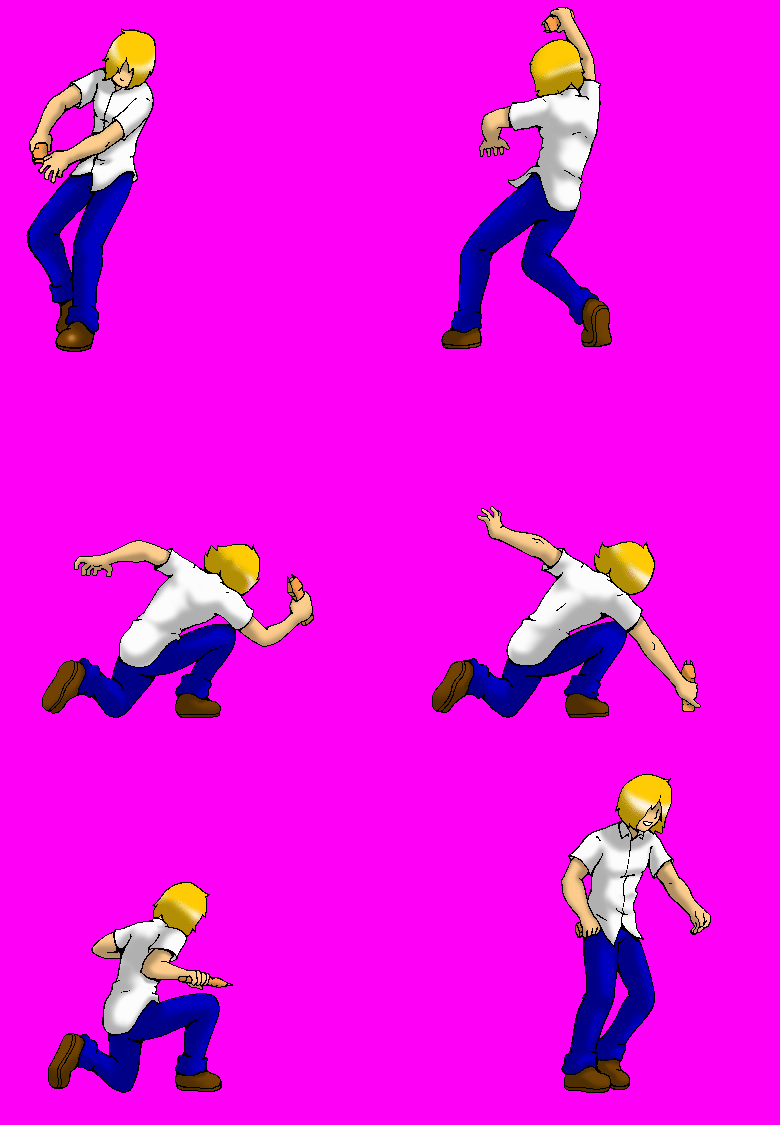
Hey guys n gals, how's the summer turnin out for you all? Good I'm hoping I couldn't be better finally grabbed a graphics tablet, nothing big just something practice on ...
... It's proving to be hm ... Different XD but like everything else I shouldn't have a problem getting used to this. It's a Turcom TS-6580 8x5" (That draw area is perfect for the paper size I draw my sprites on.)
Okay as promised I'll give a short method of my madness when it comes to spriting. I'm sure there are better ways to do this, this is the way that works for me. Originally I was gonna try and squeeze some pad work in but as I'm still learning how to use it .
Step 1 Planning
Before anything, everything starts somewhere. I usually have piles of paper dedicated to nothing but doodles of character concepts and as you can see there's a lot O_o.
Okay so gen 1 sprites (sooo long ago) were
all done freehand in paintshop pro back
then I really didn't draw my refs down
I kinda went on ahead and did whatever.
I guess you can say I started thinking
when I started the Mob. I went the
extra mile and started drawing the
sprites on paper first then scanning
them in. Te color method was good
but the way I was going about it
was ...a hassle. But I got used to it
and things were rolling ...
crawling along.
... which brings us to method 3
which was the same as 2 but
all in all wasn't as good in fact
things moved slower along because
all the clean up that I was doing.
Step 2 The nitty~gritty
This, this is one of my favorite parts, with pencil and paper in hand I'm a happy cat, I could go on drawing forever, this step can be tedious some times but the end result is it's own reward.
Once the drawings are done it's time to get scanning. I usually scan in at 100px for characters though the Mob was/is scanned in at 75px.
Step 3 The Color Machine
With the drawings scanned in and set up it's time toe get it's time to get to it. I'll use Ringo for this example as he's one of the character's I'm currently working oo.
An extra step I forgot to mention, after
scanning it in I reduce the image by 50%
of the original size before I start drawing.
The pencil, line and pen tools are
your best friends.
Cleaning up any jaggies is simple just use
white or whatever and smooth things out
and be sure to use the color selector
to grab the "erase color" hit delete
and ta~da a cleaned up character sprite.
Coloring from here on out
should be pretty simple.
I use the paintbucket to get all the
base colors in then from there
draw in the shading where needed.
Keep track of colors.
Extra JOY!!!
.
For some animations like this one here, I'll usually do a composite ...
... where others I'll just go all in, it depends on what I'm going for at the time.
~Noodles


wow that's alot of work you put into these man. I had a couple of your first characters.
ReplyDelete(The rabbit one and you've come along way since then. Me I'm still waiting for Akemi to see some updated action. take care.
Very interesting, thanks for the insight. I just might adopt a similar method when I finally start doing stuff.
ReplyDeleteI have a question though: Will the pony characters be H-compatible?
Yep.
DeleteWow, nice Kumo flip animation, also liking the blonde Ringo's territory strike to the ground. It's as if he's captured the enemy flag and just nailed to the ground for the victory, looks awesome. Hmm, never heard of the Turcom tablet but when you draw on a tablet you have to train your hand to stay in that confined space so for me drawing a curve free hand is really tough, but its way better than drawing with mouse. Have fun with it; you'll get used it very easily.
ReplyDeleteI don't know, but I could think of good poses but when I put it on paper my brain just freezes and don't know where or how to start that pose, thus I end up with garbage after hours of attempting the said pose. Very nice, this tutorial is great, much appreciated.